
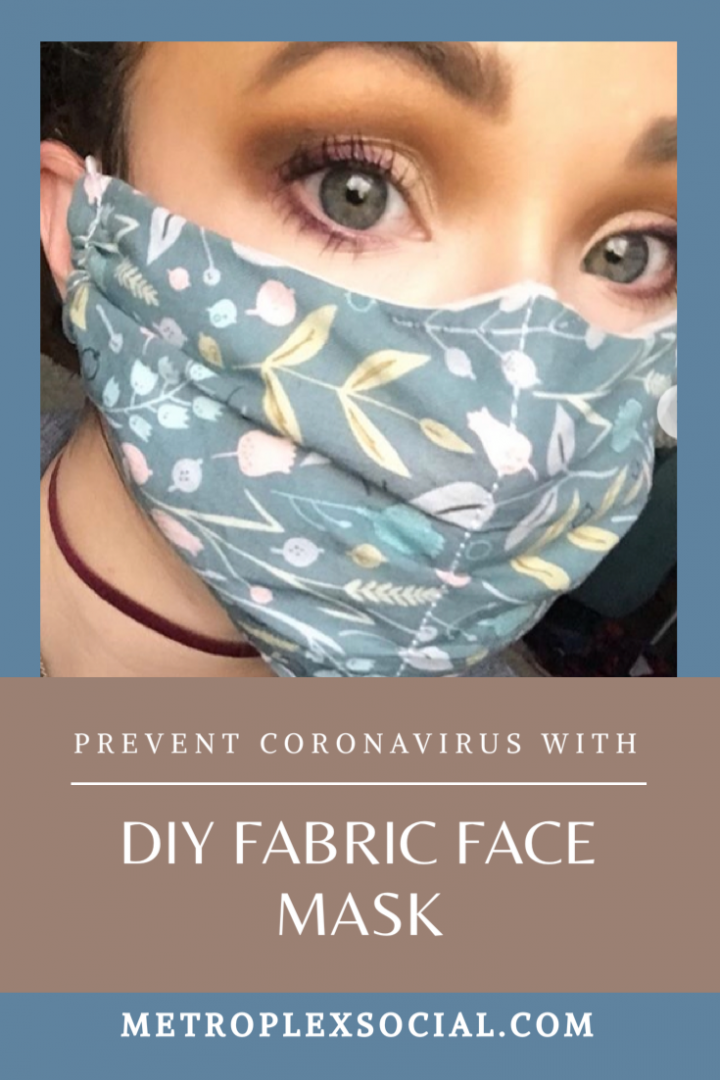
We are all doing our best to prevent the spread of Coronavirus as the pandemic hits, which is why I want to show you How To Make A Face Mask. Between teaching our kids to wash their hands correctly and making our own cloth wipes, we’re doing the best we can!
Unfortunately, there is a huge shortage of items we can’t live without and face masks is one of them. Luckily, you can learn how to make your own face mask and avoid the panic.
While you’re at it, be sure to check out how to make your own sanitizer according to WHO.

This step by step guide includes a PDF for a face mask pattern and tons of tips on how to create your own! Everything from fabric recommendations to stitching techniques can be found below.
This is a great way to protect yourself and others when you are not able to self quarantine. Here’s Everything You Need To Know About How To Make Your Own Face Mask To Prevent COVID-19.
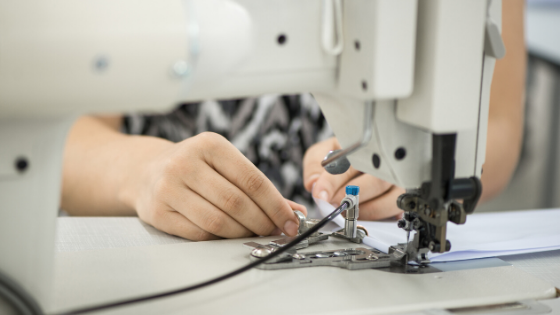
Learn How To Sew A Face Mask
Materials Needed To Sew A Face Mask
- Sewing Supplies (sewing machine, thread, needles, etc.)
- 6 inches or more of a your chosen fabric
- 6 inches or more of a fabric for lining
- 4 feet or more of ribbon
- This PDF file of a DIY face mask pattern
Things To Keep In Mind
The biggest thing to remember while creating face masks is that the goal is to stop droplets. This affects the type of fabric and layering you’ll be doing.
Keep in mind you will be wearing this face mask over your mouth, so it must be a fabric you can breathe through!
Since the mask is on your face, we want it to be a comfortable fabric as well. These are all the reasons cotton, rayon, or woven wool is recommended.
Instructions For How To Sew A Face Mask
Step One: Cut Out Your Fabric
Use This PDF file as a guide when cutting your fabric out. The pattern shows one half of a face mask, so cut out 2 of these patterns from you main fabric and 2 more for your lining fabric.


Step Two: Create The Center Seam
Line up the curved edges of your pattern in your main fabric. Create the center piece by lining them up and sewing them together.
Repeat the step for your inner lining fabric as well using the same sewing pattern.
Step 3: Place Ribbons


Place your lining fabric down. Line up the two ribbons/elastics by placing them on the corners of one side. On the opposite side, fold each ribbon over to create a secure stitch. See photos for examples.
Layer Your Fabric
After placing the ribbon over the lining fabric, layer the main fabric on top of both of these. You should now have both layers of fabric on top of each other with the ribbons/elastic in between them. Pin through the ribbons, liner, and main fabric to keep them in place.

Step 4: Turn The Mask Inside-out
Sew around the mask, following the pattern on the PDF. Leave one side open as you will be turning the mask inside out before completing. Reach in through the opening you left and carefully pull your mask through to turn it inside out.
Step 5: Complete Stitching With An Edge Stitch
Finish your mask by stitching the final opening closed. Edge Stitch around the mask one last time to ensure that it holds.


How To Make A Face Mask At Home
You’ve made a mask! Now you can create more for others who may be at risk too. Make sure to wear your mask to prevent the spread of COVID-19.
Here’s more on Metroplex Social to read:
- How to Make Your Own Hand Sanitizer According To The CDC
- How to Make Your Own Wipes When You’re Out Of Toilet Paper
- Here’s How To Teach Kids To Wash Their Hands {Learn About GERMS!}
- 151+ FREE Kids Educational Resources for Parents and Educators
- ENTIRE List of Virtual Tours You Can Take From Your Couch
How are you protecting yourself and helping to flatten the curve? Make sure to tag us @metroplexsocial for a chance to be featured!